Mode 65: Build and First Use
I received the widely celebrated Mode 65, the keyboard kit famously known for a myriad of customization options and an insane three months…
I received the widely celebrated Mode 65, the keyboard kit famously known for a myriad of customization options and an insane three months lead time. These are my thoughts on the build and first time use of this keyboard kit.
Disclaimer: Since the Mode 65 offers a lot of customization options on literally every part of the board, a slight change in configuration could result in drastic changes in typing feel. My thoughts are solely based on the configuration which I ordered.
Introduction
Mode 65 is a customizable DIY 65% keyboard kit that starts at $300. It offers three mounting options namely top, isolated top, and stack mounts.
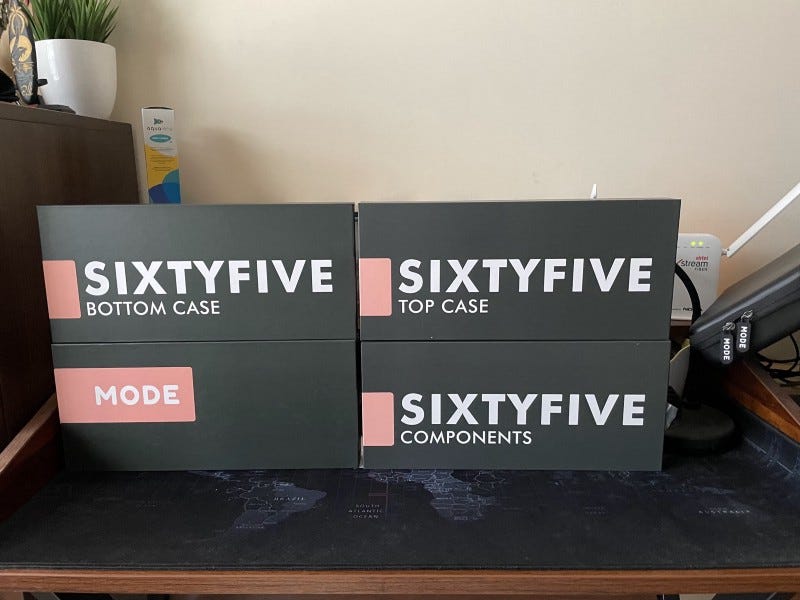
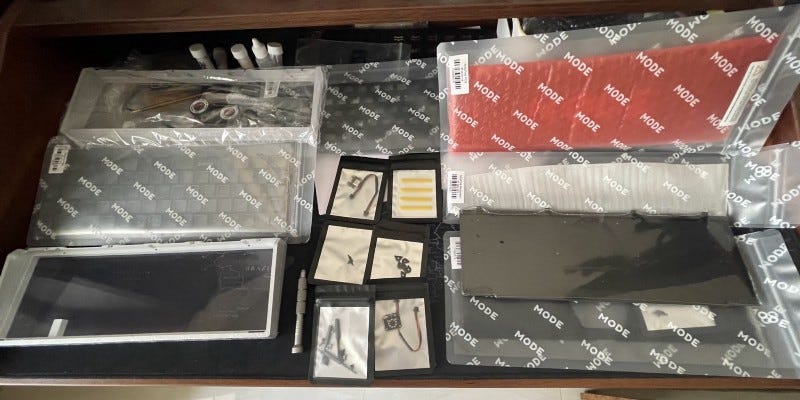
The contents were carefully packaged and the QC on the components were top notch. I couldn’t fault any of the components.
I will go through the components in brief.
Top
Mode offers seven different tops and I chose the White and PC ones. The white is Electrophoresis-coated aluminum and the PC is CNC-machined and sandblasted clear polycarbonate. The top is a major part of the kit as the PCB-Plate assembly is screwed onto it in the top and isolated top mount styles, and the PCB-Plate assembly is slid into it in the stack mount style.
Bottom
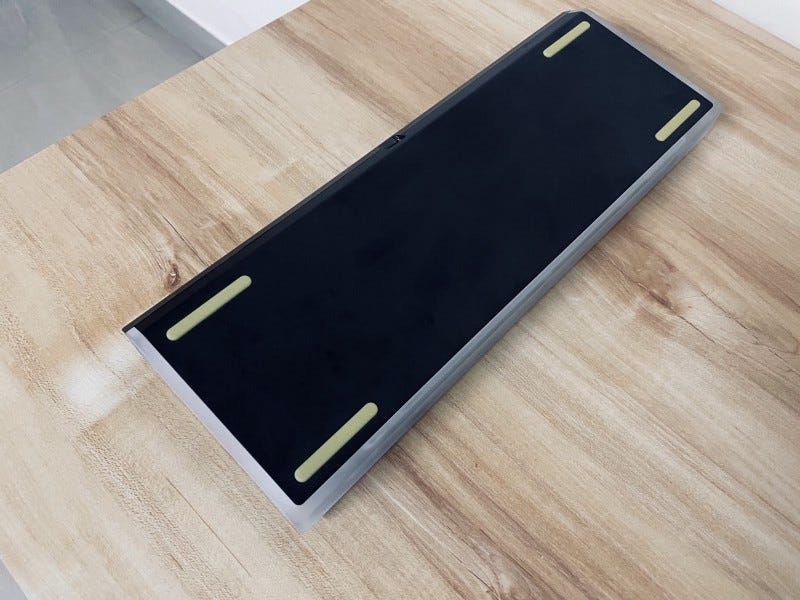
Mode offers ten different bottom types to choose from. I got the black bottom which is made out of Anodized aluminum. The top-PCB-plate assembly screws into the bottom in all mounting styles. The bottom is not visible when the keyboard is kept upright on a opaque desk. An optional silicone base can be installed onto the bottom for muted feel and it also enables the stack mount option. The bottom also houses the USB-C cutout and the Daughterboard.
Backpiece
The top and bottom are connected using an interlocking front lip design leaving the screws visible on the rear of the keyboard. To cover this, a backpiece is provided which magnetically attaches to the top. Again, here Mode offers 12 options, and I chose the black mirror one. Black mirror is highly reflective and is made of polished PVD coated Brass. It lends much needed heft to the board as well.
Plate
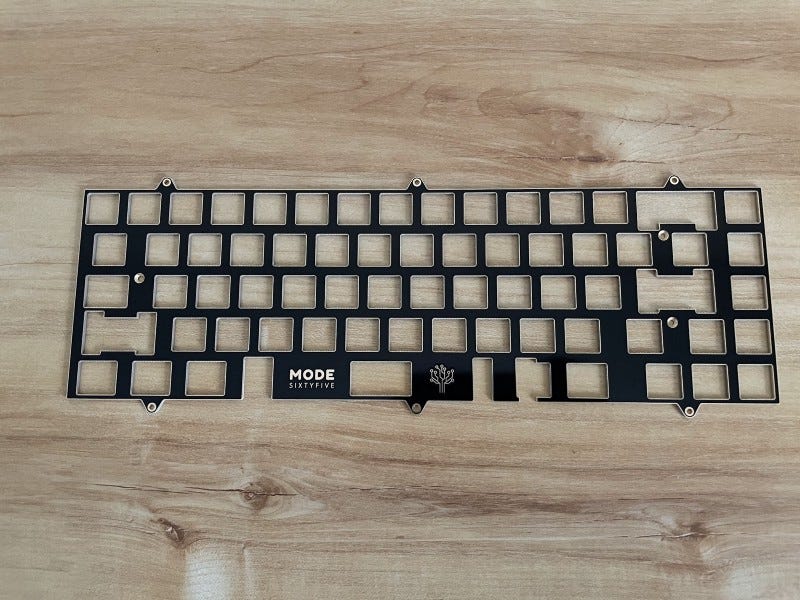
Mode offers seven different variants for the plate, along with three different layouts (ANSI, ANSI-Half, and ISO). ANSI-Half is available only in solderable PCB. I chose the traditional ANSI plate with FR4 material. The plate contains three mounting points for the PCB standoffs and also six mounting points for the top and isolated top mounts. There is an optional Poron based plate foam as well.
PCB
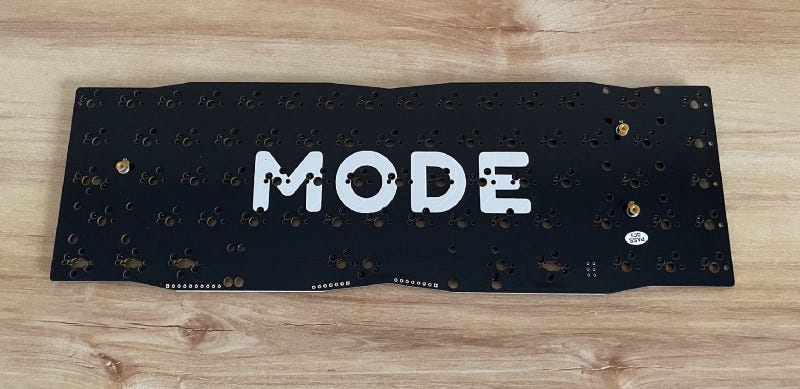
Mode offers both Hotswap and Solderable PCBs. I chose the Hotswap version and this has limited multi-layout capabilities (stepped Capslock and 7u spacebar). The PCB contains three standoffs built into it.
Other Parts
Mode offers a silicone base, rubber feet, and plate caps. There are some colors to choose among them as well.
Build
Building the Mode 65 was pretty straightforward and the build guide provided by them is largely sufficient. I chose the Stack mounting option for my build. In this style, a silicone base is fastened to the base for acoustic dampening and the pcb-plate assembly is slid into the top.
I started out with using the AEBoards Staebies for this build but they turned out mushy (when lubed) and I felt the key travel reduced a bit (I’ve updated my review of the staebies with these points). I switched over to the Durock V2s and lubed them with 205G0 and the wires with dielectric grease.
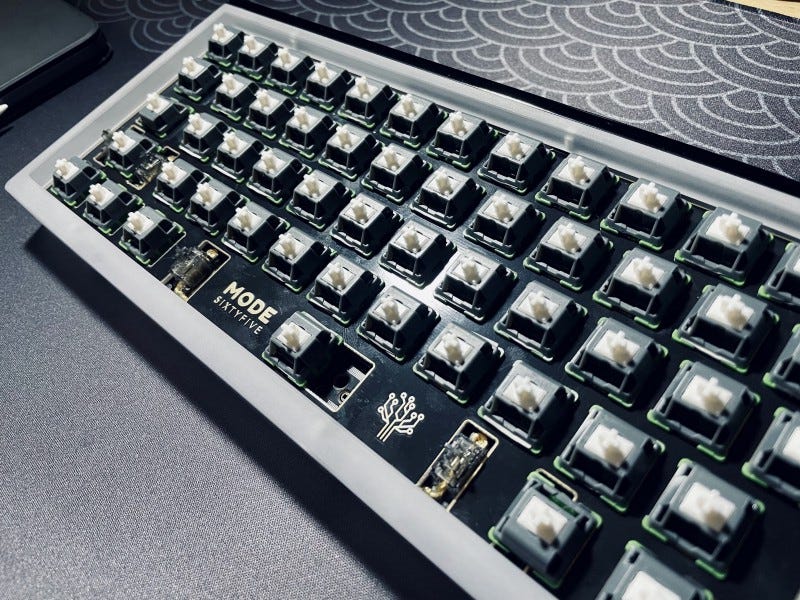
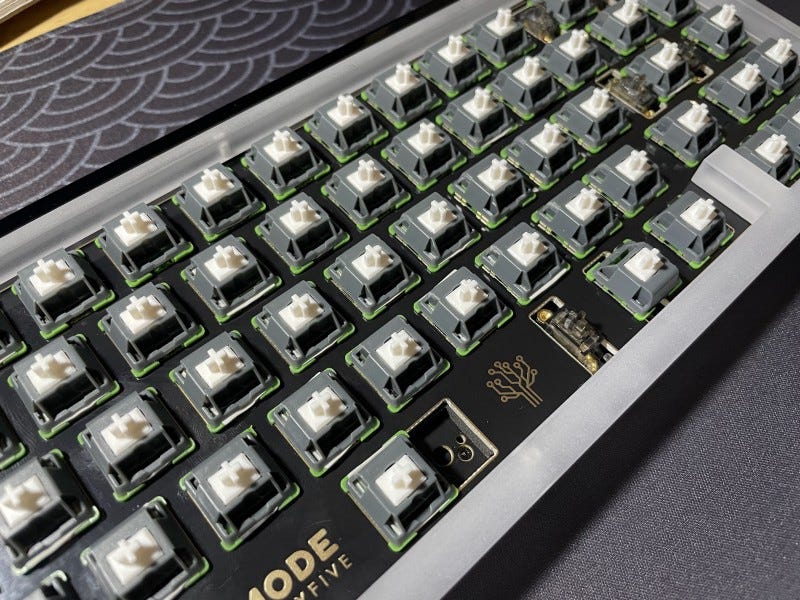
For the switches, I chose the Penyus (wildlife switches) as they are new and I wanted to try them out on a full fledged board. I spring swapped them with 17.5 mm stainless steel 70g chewy springs and lubed the housing and stem with Tribosys 3204. I also filmed them with Deskeys foam films. I was pleasantly surprised by the quality and applicability of Tribosys 3204. I believe they go well with non-scratchy linears.
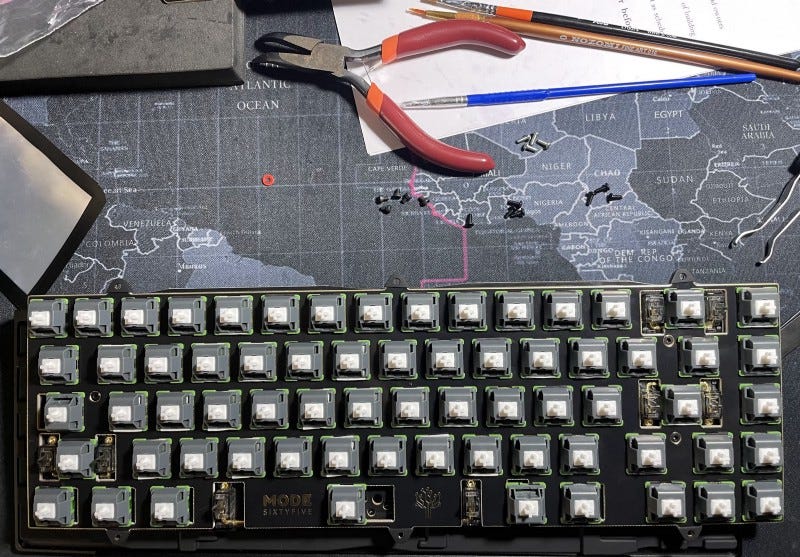
I also used the optional Poron foam in between the PCB and the plate. Once the PCB-Plate assembly is ready, I had to attach the daughterboard JST cable to the PCB and slide this assembly into the top. The top and bottom were then screwed and the backpiece was attached as the final piece of the build.
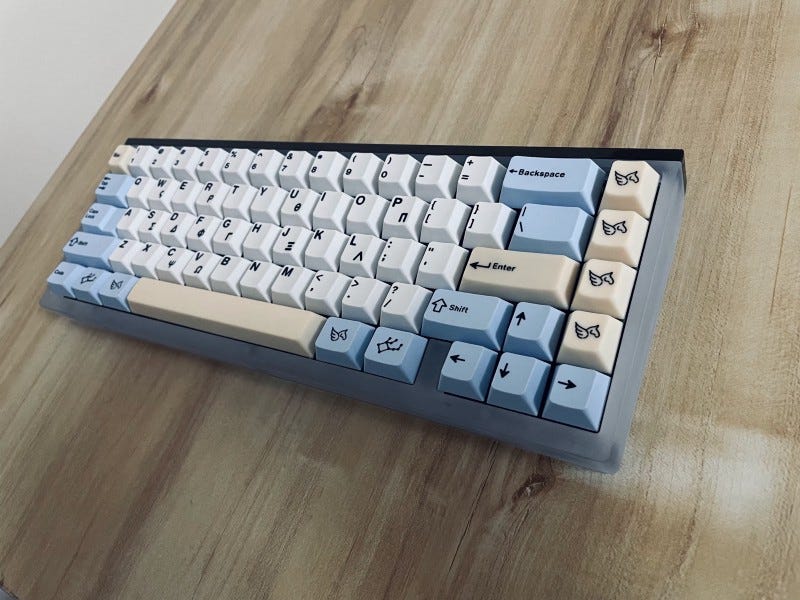
I chose the DCP Pegaso PBT keycaps for this build. I used the base, novelties, and spacebars kit to achieve the required aesthetics. The fully built board weighed 1.2kgs.
Typing Feel
The Mode 65 has a 5.5 degree typing angle which is on the borderline of my preference. I generally use 6–7 degree typing angle for my daily use.
The typing feel is stiff due to the presence of the full plate. I’ve seen half plate builds show some flex. Even after using the silicone dampener and with practically no space left in the case, the sound is a little hollow. Apart from these, I did not find any issues in the prolonged typing session. Below is a sample video of the typing test. I’m not a touch typist, pardon my strange typing style.
Issues
A starting price tag of $300 raises the expectations of any board. I’m nitpicking at this level, but still these can be addressed in future iterations.
Since the backpiece is magnetically attached to the top, it rattles when the top is nudged with the slightest of forces.
The Hotswap PCB could have offered better multi layout options as many manufacturers are doing it with less expensive boards.
The bottom is very thin and does not do anything to increase the acoustic capabilities of this board. Also, the thin bottom does not inspire confidence when placing the keyboard on hard surfaces. It makes a strange clacking sound.
The backpiece being the heaviest piece (apart from the bottom) of the keyboard makes the weight balance tilt towards the top and a slight pressure at the top will cause the keyboard to tilt upwards, endangering the USB C port of the Daughterboard.
The typing feel is still a little hollow probably be due to the thin bottom.
The typing feel is stiff in all mounts from a Hotswap PCB and plate.
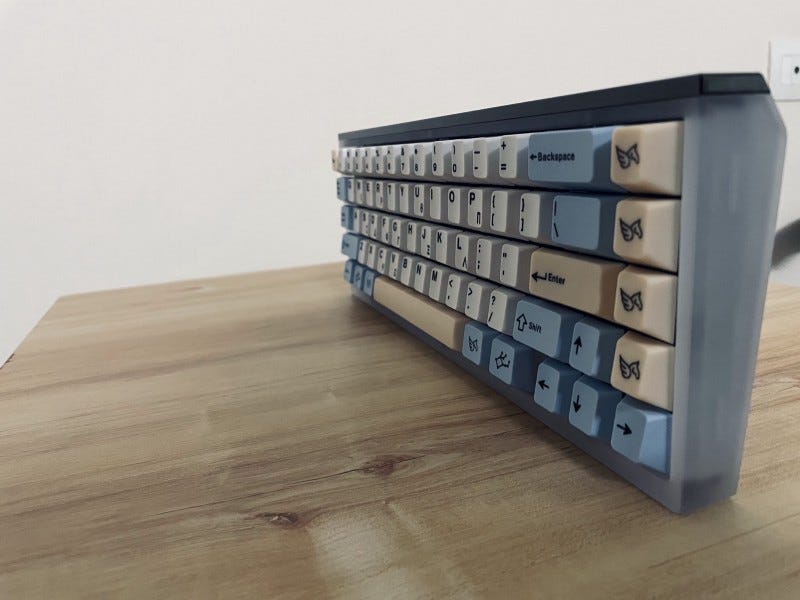
The front height of 22mm makes it tough to use without a wrist rest.
Conclusion
The Mode 65 is the most customizable keyboard that I’ve seen in terms of parts selection. The fit and finish of all the parts is worthy of genuine praise. Additionally, they have addressed one of the worst parts of this hobby and that is extended wait times. The promised three months lead time is one of the best for any keyboard GBs out there. The typing feel of the full plate is decent and the three mounting options can be tried to experiment further. The Daughterboard design and the promise of parts availability (instock) also add value to the long term prospects of this board.
Despite the advantages, I’m slightly unhappy with the sound of the keyboard. I will try to make it better if possible. At the moment, the board has not done enough to be my daily driver.
However for someone looking out for a new board, despite some nitpicky issues, It is tough not to recommend this keyboard except for the price.

